...where I share my life, craftiness and eating habits with the world...

Sunday, February 10, 2013

Dolly Panties


My sewing group finally got together again last month and made some Dolly Panties.  I got the super awesome tutorial and pattern here at Make it and Love it.
I changed it up a little, because I really dislike sewing with elastic thread.  I mean it really dislike.
Anyway, we used skinny little elastic and guess what?  I thought they were way easy because there is no thread changing(which is the bane of my existence) and sooooo fast.  I made 3 pairs in under an hour.
My friend Adie of Crazy Adie's Creations won an awesome gift box from Pick Your Plum that had all these super cute little decorative elastics in it.  We decided they would be perfect for little panty trim.  We were so right.  :)
I love the aqua on the black & white stripe.
The best part?  These were totally free to make too!  I used knit scraps and elastic on hand(as well as gift box pretty elastic).
My daughter loves them too and now changes her dolls panties almost daily.  :)


Thanks for reading!
:D


Update on the Weight War


As many of you know I have an ongoing war with food.  I love it, but it hates me.  Exercise, I hate it but it's good for me.  The good news here is that I've actually been trying,  really, really hard and I lost 12 lbs so far this year.
I know, I can't believe it either!
How did I do it you ask?
Diet and exercise.
Blah, blah, blah...
I go to the gym 6 days a week and use My Fitness Pal to track my calories and exercise.  It was really hard at first and there were many days I'd think I was going to starve to death, but I'm persevering, and it is paying off.  I will get to my goal weight this year!  Just wait and see....
In the meantime enjoy these weight loss comics I found for you.  :)


Thanks for reading!!!

Monday, February 4, 2013

Ball Jar Pin Cushions

 
Awhile back I made these super cute pin-cushions.  I found the tutorial on Make it and Love it here.  Hers were so cute and easy that I decided I needed one.
Well,
they only sell packages of canning jars.  Who knew!?!
So I had to buy 12.
They were on sale though so it only cost me a little under $6.
I had all the other stuff on hand, so it was a very easy project.

 
So now I have lots of them.  I gave one to each of the girls in my sewing group, and I'm saving one for my mom and daughter.

 
If you decide that you need one too, go to her blog and follow her tutorial.  Because it's fantastic!
 
 
Happy Creating!


Thursday, December 20, 2012

Oreo Ball FAIL

So, has anyone ever made Oreo Balls?
If you do not know, they are these little balls of yummy sweet goodness.  I mean it, really de-lish.
Here is a pic of what they look like.  Yum.

And here is what mine look like.
*sigh*
I worked so hard on them...
really, really hard.
I had a major cooking meltdown.  I felt like a toddler who didn't get her way.  I cried and yelled and went to my room and laid dejected on my bed.  (Dramatic?  yes.  Unwarranted? no.)
I really expected my first batch to turn out perfect.
Really.
I learned a good lesson that day.
There is no such thing as an epic fail if the end result tastes good.
Are they good?
Heck Ya!
Thanks for reading!


Thursday, November 29, 2012

Super BIG Glitter Stockings

A couple of years ago I decided we needed bigger stockings.  I searched all over everywhere for something I liked, but...I am very picky when it comes to decor(nothing tacky or super gaudy)...  So I decided to make my own.
These were super easy and I love the way they turned out.
My aunt had these super large stockings, so I traced one for my pattern.  I used glitter felt.  I didn't have to hem anything or worry about fraying.  The felt is also sturdy enough to hold up without interfacing.  I got this wonder product at Hobby Lobby.  :)
 
 
I used iron-on letters for our names.


Here is a pic of the stocking on my cutting board so you can get a rough estimate of the size.
 
 
Thanks for reading!


Sunday, November 18, 2012

Damask Tree Skirt

I bought a new Christmas Tree.   I have a really small house and it is hard to fit a tree in anywhere.  It is a super skinny tree and I really love it. The only problem?
The tree skirt I had was way too big.
So, I made a new one.

It was so easy.
The trick to getting a perfect circle???
I used a circle skirt pattern.  :)
This one to be exact.

 
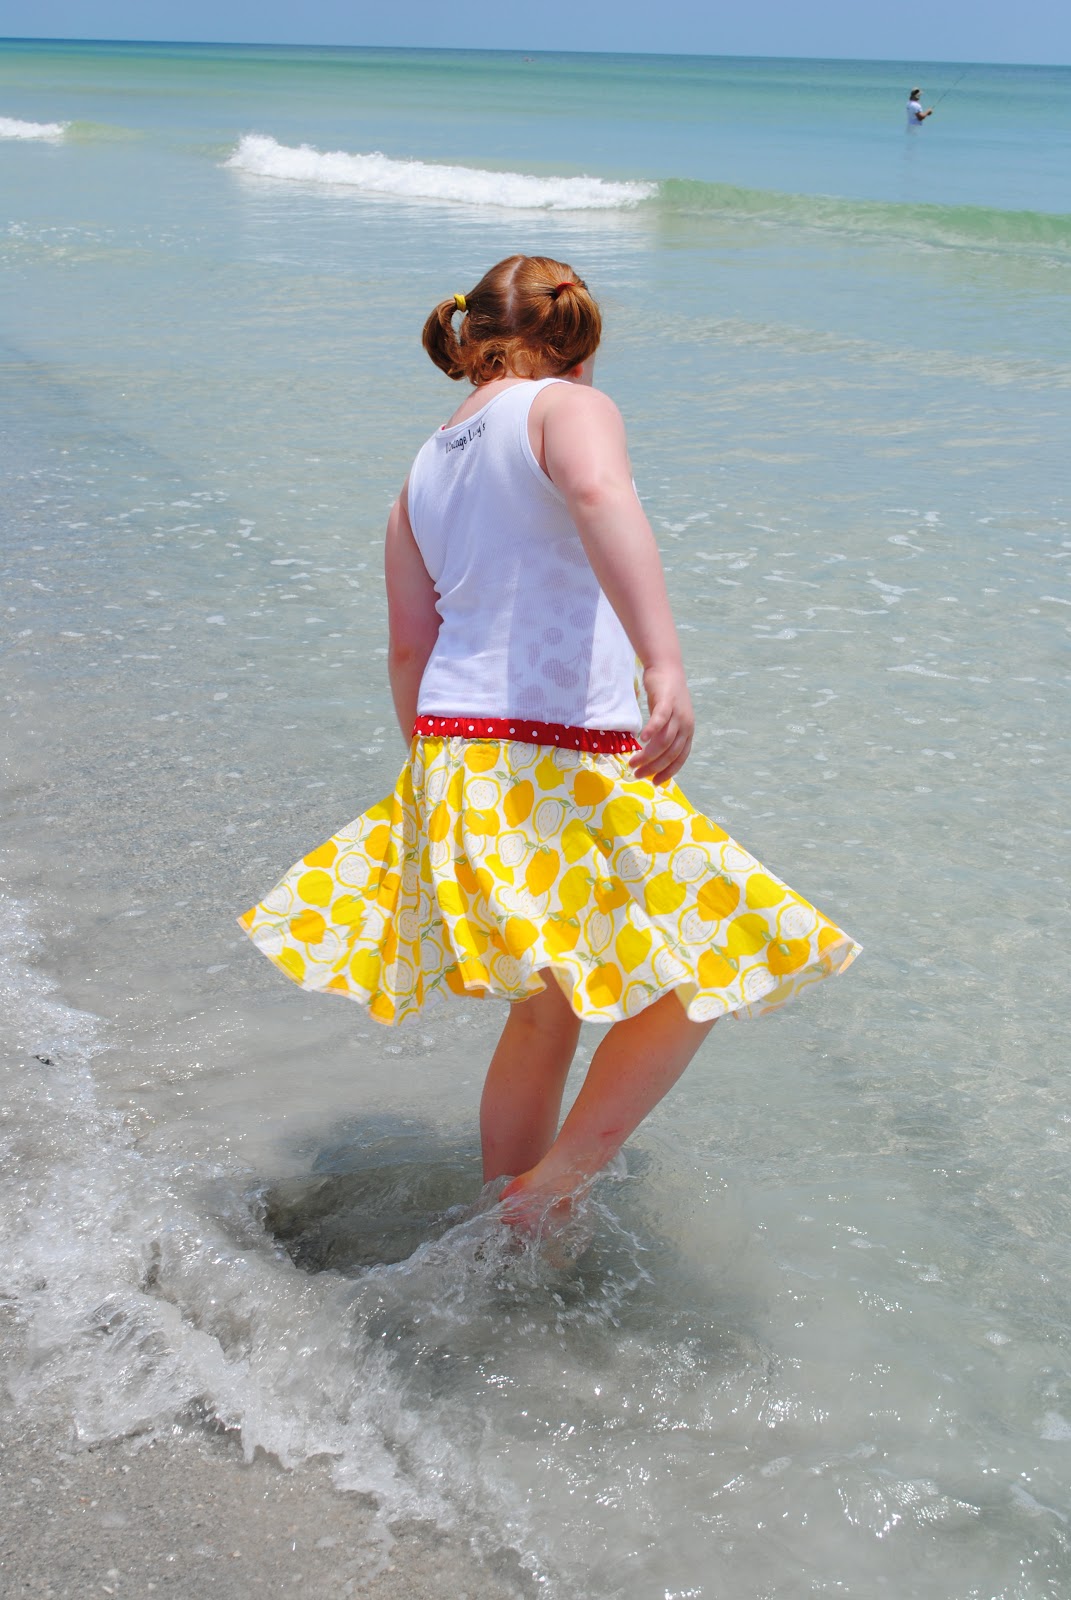
I got it a Joann Fabric when patterns were $0.99!  I used it to make a circle skirt for my daughter to wear with her Vintage Lucy's Lemonade Stand Tee.
She loved it(too bad it doesn't fit her anymore).

 This was her first trip to the beach.  :)
 
But I digress...
I used the size 7 pattern because I did not want a skirt that is too big.  It ended up being the perfect size.
In order to make it a tree skirt I had to slit it up the back and I added some interfacing to make it thicker.  Then I edged it all in green seam binding.
I really love the way it turned out, and it is the perfect size for my little tree, in my small house.  And it matches all my other holiday decor perfectly.  :)
 
Thanks for reading!


Sunday, November 11, 2012

Monster High Crossbody Bag

I don't know about your tween daughter, but mine seems to just LOVE Monster High, as well as all her friends and my nieces...
I had one such niece's birthday party yesterday.  Luckily I already had this idea in my head of a gift to make her.
I was out shopping the day before and I was looking at all the Monster High stuff and I just knew I could make something waaaay cuter than all the cheap junk the store had.
So I did, isn't it super-cute?


Basically I followed these 2 tutes, here and here.
It is a super quick little bag to make, and super perfect for a one of a kind gift.
 
I think the hardest part was making the skull and eyes patterns.
I google image searched "monster high skull" and drew it out myself.  I did the eyes a few times because I am a perfectionist and they just didn't look right to me the first time.  :)

 
The first thing I did was lay out the squares in a color scheme that I liked.  I went for an alternating pink/black pattern.
Then I laid out the skull shapes where I liked them.
 
I sewed the squares together and appliqued the face on.
For the eyes I just sewed around the circles.  I left the eyelashes loose.  For this bag I only made one side patchwork.  The back and the lining are solid pieces of fabric.  This allows for a faster turnaround time.
 
The strap and bag are lined with interfacing to give it structure, like in the ruffle bag tute.  The size of the bag is more like the little girl patchy bag.  The right side out outer bag goes into the inside out lining.  But before I put it in I pin on the straps and tuck them in too.


My niece loved it.  Next in the works is a green and black and white one like Frankie Stein, for another special girls birthday.
Thanks for reading!