...where I share my life, craftiness and eating habits with the world...

Monday, September 24, 2012

~White Paint is Magic~ (Part II)

Here is another lovely white paint makeover.
I don't know if I ever told you, but my house is really small.  Really, really small.  Like 900 sq ft small.  And we have 5 people living in it.  It is so hard to get alone time in a house this small....but I digress.  I thought I needed to brighten up the house by changing all my decor from dark brown to white.  This is what the frame wall looked like before...
(It looked good, but I wanted lighter and brighter)


The walls are a nice neutral latte color(who doesn't love lattes.)
And the white frames are really going to look great.
A couple of years ago I hosted Thanksgiving at my house, and my great hubs painted all of the walls in 2 days. I guess that's one benefit to a small house. Anyway, we painted all the windows white so they would all match too. Some were wood, others were white. It was very mis-matchy. :)
Here's the frame wall now...

I finally added a copy of the family pic we had done in March!
(I'm such a slacker sometimes)
I think the wall looks great!  I am now going to add some small pops of color to it.  I have a chipboard "P" that I am going to do something with and a couple more small pictures to put up, but you get the idea right?
It really is amazing what some white paint can do.


Sunday, September 23, 2012

What to do with a $$$ Store Pumpkin?

I was shopping at The Dollar Tree(my fave) the other day and I came across these great little foamie-like pumpkins.
They look a little fake, but some spray paint will fix that right up.
 
 
I've been pinning all these cute little pumpkins here and here and here, here, here.
 
There are just sooo many cute ideas out there...I had to narrow it down to a few of my faves.  I also love to do fake ones so I can reuse them over and over and over. :)
 
 
First I spray painted them all black.  I used basic high-gloss paint.  Nothin fancy.  They have a center seam that looked totally fake, so I hot glued ribbon around it.  Tres facile!  Then I hot glued a previously painted wood letter to the ribbon seam.
 I think they turned out pretty cute.
 
 
I let my daughter glue googly eyes all over this one.  I love the orange goblet to display it(That was a thrift store score.)
I used some new editing software called PicMonkey...
and...well...I don't really like it.
You don't even want to know how long it took me to do this, and then figure out how to save it to my computer.  I ended up with about 4 copies, and in every one of them I had spelled pumpkin wrong.  Duh.


I have a bunch more cute pumpkin ideas in the works.  Check back in a couple of weeks to see em!!


Saturday, September 22, 2012

Angry Birds...and then some...

My littlest turned 3 this month.
*Sigh*
Where did the time go?
He used to be my little baby...

There he is at a year...so cute..

There he is at 2...growing up so much...

 
Now he's all big, and he talks, and he goes on the potty....
 
Isn't he super cute?
As you all know 2 & 3 year olds can be stubborn(really?) and he wanted an Angry Birds Pool Party. Since we had a pool party for his sisters 2nd birthday I though it was only fair...
I was too lazy to make anything this year, so I opted for store bought stuff.
(A cop out, I know, but sometimes you just gotta)
Still looks cool, and he did so enjoy himself anyway...


The cake from Trefsgers Bakery was super good.
 
 
The favor bags full of Angry Birds goodies.

 
Die, Piggies, Die.
lol
 

The party room looked great
Max had so much fun playing with all his cousins and friends.
 
 
Last year his party was at Monkey Joe's.  And he hated it.  He did not play on anything. at. all.  I'm glad he enjoyed himself more this year.


Linked to The Halbert Homestead
 

Friday, August 31, 2012

~~White Paint is Magic~~

Last week I decided to tackle some small projects..
Namely...painting.
Lots and lots and lots of painting.
I did 2 nightstands,
a doll bed,
and about 15 picture frames.
All in a lovely shade of white.  You see, I've decided that I want my tiny little house to resemble a beachy cottage.  Complete with hardwood floors, white trim and distressed everything else.
With splashes of bright color everywhere!!
It is going to look so perfect when I am done.  And all of my beachy vacay souvenirs will look phenomenal!!
(after the baby gets bigger and I can display them without fear of breakage)
So, without further adieu....
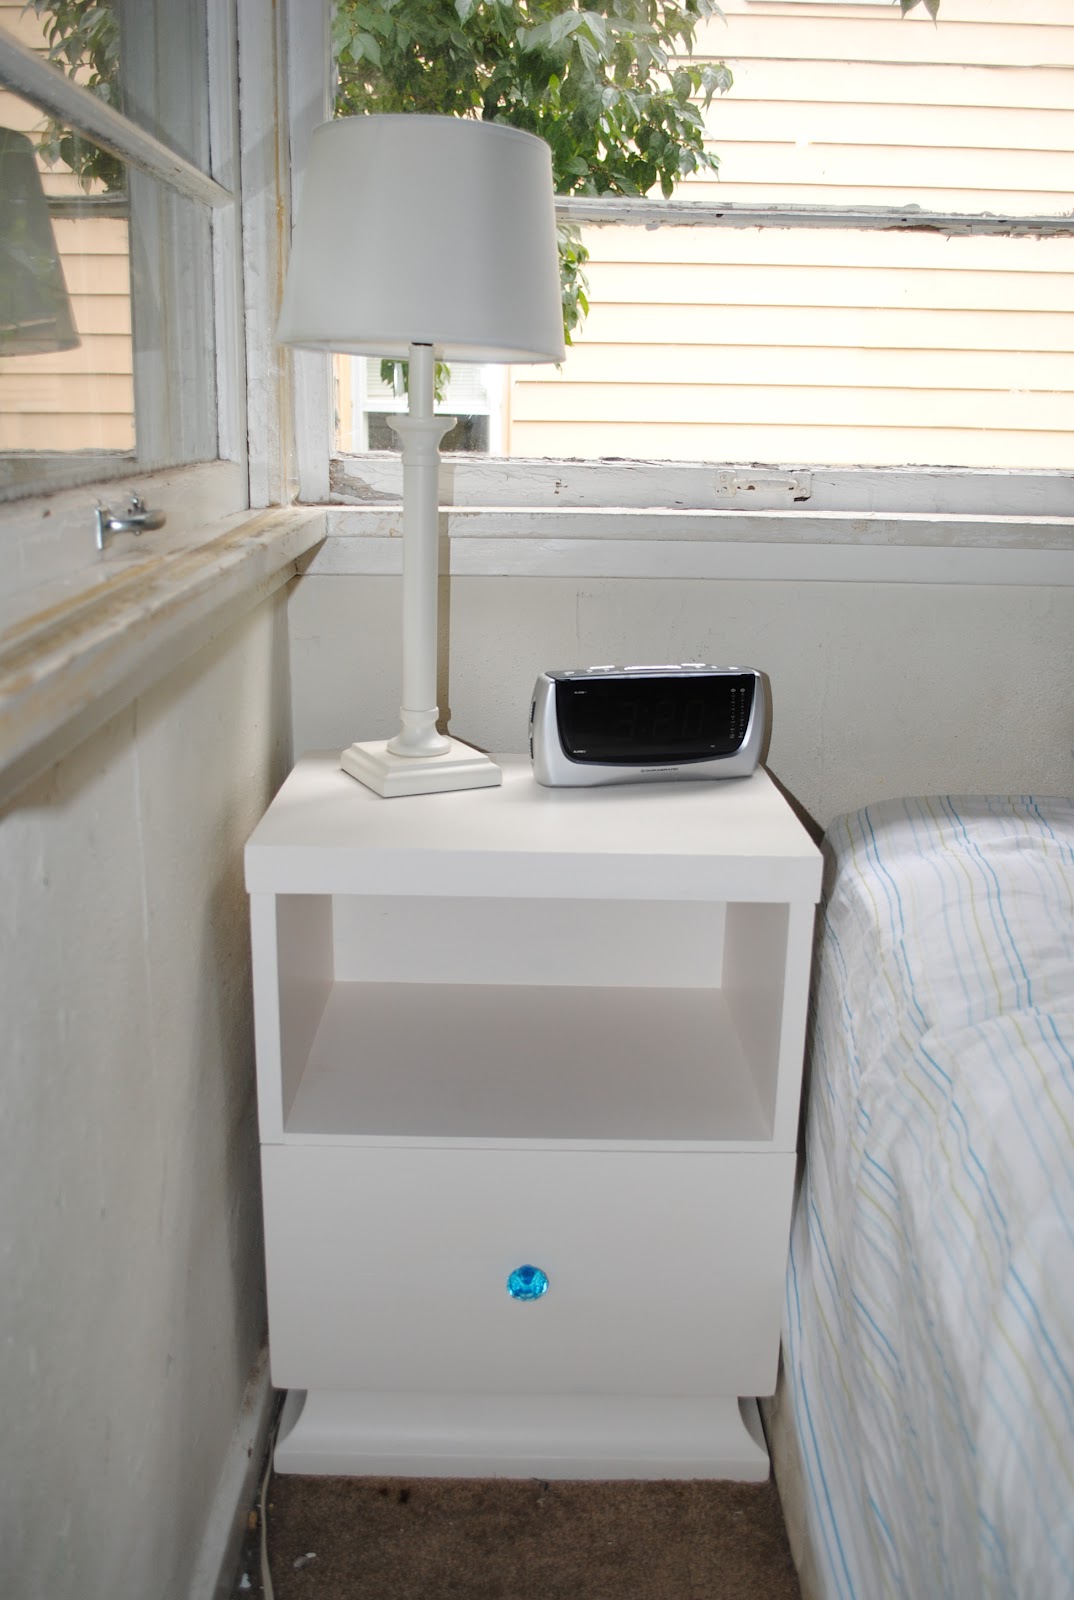
I turned this
Into this!  Isn't she beautiful?

(yes, my bed is unmade and that is my neighbors house right over there)
But I think is looks so wonderful...and I might change the knob.
Maybe.  I do so like to be indecisive.  :)

See how cute it looks with some of my stuff on it?
I'm going to make an adorable bedding set for the doll bed and I will post that sometime too.  I will post the other nightstand some other time.
(Right now we are bracing for all the rain residuals we will get from Hurricane Issac)
I still have a side table, a bathroom mirror and cabinet, and my dining room set to do.  Someday...

See...I told you white paint is like magic!!


Monday, August 20, 2012

Funky Dresser Re-Do

I finally finished this old dresser...
It was a mess when I got it.
There was mildew on the bottom and the knobs were all mismatched, but it was only $7!
I know right?
Here's what it looked like before.
Yikes!
See, I started it last fall. I have no garage, so I have to paint when the weather is nice.  Or inside, and no one likes that!
Anyway, I had to remove all of the mildew before I could store/paint it. I did a lot of Internet research..it was really easy, just time-consuming.  But it turned out great!

Here is what it looked like right before I started to paint it.  Do you know how hard it is to find gray paint?  All I wanted was gray, not Argent or Bear Creek or Down Pipe
(those are real names, really!) just gray.
I finally found one...Casual Gray.  It is perfect.
I got the paint at Menards, its Dutch Boy High Gloss and all I needed was the little one. 
I had to use primer too though because it was bare wood. Thankfully I did and the finished product came out wonderful!! I really love it. I even lined the drawers with polka dot paper.  So pretty!
Here is a sweet picture of the drawer liners.  I love polka dots!!  All it is is good wrapping paper that I Modge-Podged onto the bottom!  They look 110% better than they used to!
I had a hard time finding new knobs though.  There are 12 knobs on this thing!  12!  I finally settled(after buying and returning about 50) on mismatched for the 4 little drawers on the top, and some of the old white ones with 4 new ones for the bottom drawers.  I think it looks a little shabby chic, or cottage chic.  I want my house to look like a beachside cottage.  :)
Here are some pics of the next dresser re dos...
Let's hope they don't take as long, but they probably will!  :)


They are beauties though, and will re-finish oh so nicely!!
I will post some pics when I get them done.  Sometime.

Thanks for reading!
:D


Linked up to Sew Much Ado
                      So I Married A Craft Blogger
                      Sugar Bee Crafts

Wednesday, August 8, 2012

PVC Pipe Garment Rack

I did it!
I actually made something that I pinned!  Yay for me!
I have an etsy shop where I sell handmade and vintage kids clothes, and I desperately needed something to store all the clothes on.
I was at a thrift store earlier this week when I saw this great pvc pipe/rack/shelf thing.
Of course I thought to myself "I can make that!"
So I did!
I looked online for a proper tute, but none had the double rack like I wanted, so I designed it myself!

It is perfect!  And super easy.  It only cost me about $8 to make.  I even had the guy at Menards cut it for me.  Really!  Simple!
Here's what you need...
I used 1 inch pipe, It seemed sturdier than the smaller stuff.


Ack!  I'm having issues with blogger!  It won't let me make the pics any bigger.  Technology is wonderful, when it works...
So, basically I just fit all the pieces together when I got home.  It would be a ton sturdier if they were glued, but I wanted to be able to take mine apart if needed.  It is still sturdy enough to hold all my stuff and it is not used every day either.  If I was making this for bigger clothes or kids I would definetly glue it.

So, I will break it down for you

1.  Put an elbow on each end of one 40 inch piece
2.  Stick an 18 inch piece directed down in each elbow
3. Put a 3 way connector on the bottom of each 18 in piece
4. Connect the 3 ways together with the other 40 in piece
5. Add the other 18 in pieces to each side
6.  Add the 4 way connectors to the bottom
7.  Put a 12 in piece on each side of the 4 way(leaving the bottom open)
8.  Put elbows on the ends of each 12 inch piece
Voila!
Garment Rack!
If you were gluing, now would be the time.  Just take each piece apart and swipe one time around each pipe with pvc pipe glue and insert back into the connector!  Super simple!
My husband was surprised that I actually did all by myself.
Ha!  That'll show him! 
You can even spray paint it any color you want.  It is so fun.  I think I'm going to make mine pink!
Thanks for reading!
:)
 
*Post Production Addendum*
I have now been using this for a bit, and I discovered that this does not work for all the clothes I need to put on it.
So, I re-did it!
PS  It is very easy still.  :)
 
Please go HERE to see the Do-Over!  It is waaaaay better!

Monday, August 6, 2012

New Name, New Ideas

I don't know how many of you noticed, but I changed the name of my blog.  I want to have my blog and my facebook page and my Twitter account all match up, to promote a connected feeling.  To me and any followers I may have, during my short hiatus, I realized that I really like blogging, I just have to learn to blog at night, after my family is in bed. 
I've also decided I'm going to challenge myself.
Here's a list of the things I'm going to attempt to do...
1.  Pinterest Challenge-Once a week, make something I've pinned and blog about it!  This will be the hard one.  :)
and 2.  Continue with my Thrift Store Score posts.  I really like them.
And that's all.
I think that is enough.
So, wish me luck as I segue into a new chapter of blogging!
:D